A properly functioning dryer should leave your clothes completely dry after a single cycle. When you open your dryer to find damp clothes, it’s more than just an inconvenience—it can disrupt your entire household routine and potentially indicate underlying issues with your appliance. This comprehensive guide explores the common reasons your laundry dryer is not drying clothes properly and provides practical solutions to restore its efficiency.
Understanding the Drying Process
How Dryers Should Function
To properly diagnose why your clothes aren’t drying, it’s important to understand how dryers are designed to work. All dryers, regardless of type, operate on a similar principle: they tumble clothes in heated air while venting moisture away. The heating element warms the air, the drum rotates to tumble the clothes, and a blower or fan circulates the air through the drum and out through the exhaust system.
For electric dryers, electricity powers both the motor that turns the drum and the heating element. Gas dryers use electricity for the motor but burn natural gas to generate heat. In both cases, proper airflow is crucial—the dryer pulls in room-temperature air, heats it, passes it through tumbling clothes to absorb moisture, and then exhausts the humid air outside.
When any component in this system malfunctions or becomes obstructed, drying performance suffers. A correctly functioning dryer should produce completely dry clothes in 40-55 minutes for a standard load, depending on fabric types and settings used.
Signs Your Dryer Isn’t Working Properly
Before diving into specific causes, it’s helpful to recognize the warning signs of a failing dryer. The most obvious indicator is clothes remaining damp after a full cycle. However, other signs include unusually long drying times, the exterior of the dryer becoming extremely hot, the dryer shutting off before the cycle completes, or clothes feeling extremely hot while still remaining damp.
These symptoms can manifest gradually, with drying performance deteriorating over time, or they may appear suddenly. Paying attention to when and how these issues develop can help pinpoint the underlying cause.
Airflow Obstructions: The Most Common Culprit
Lint Filter Issues
The lint filter serves as the first line of defense against airflow obstruction. When this screen becomes clogged with lint, airflow diminishes dramatically. Many homeowners clean the visible lint from the screen but overlook the fine particles that build up over time and reduce airflow.
To properly maintain your lint filter, remove visible lint after each load. Additionally, wash the screen with warm, soapy water every few months to remove invisible residue from fabric softeners and dryer sheets that can create a film blocking airflow. Allow the screen to dry completely before reinserting it into the dryer.
A simple test can determine if your lint filter is truly clean: run water over the screen. If the water pools on top rather than flowing through easily, residue buildup is restricting airflow, and a thorough cleaning is necessary.
Vent Hose Blockages
Even with a clean lint filter, lint particles escape into the vent hose, gradually accumulating along the interior walls. Over time, this buildup can significantly restrict or completely block airflow, preventing moisture from exiting the dryer.
To check for vent hose blockages, disconnect the hose from both the dryer and the exterior vent. Inspect both the hose and the wall opening for lint accumulation. Clean thoroughly using a vacuum with a long attachment or a specialized dryer vent cleaning kit. For severe blockages or vent systems with multiple bends, professional cleaning may be necessary.
The configuration of your vent hose also affects performance. Ideally, the hose should be as short and straight as possible. Each bend reduces airflow by approximately 20%, so minimizing turns improves efficiency. Replace any crushed or kinked sections immediately, as these create bottlenecks for air movement.
External Vent Blockages
The exterior vent where hot air exits your home can become obstructed by lint, debris, or even animal nests. Weather-protective flaps can also malfunction, becoming stuck in a partially closed position.
Check your exterior vent while the dryer is running. You should feel a strong, warm airflow. If the airflow seems weak or nonexistent, inspect the vent opening for blockages. Clear away any visible obstructions and ensure the flap opens and closes freely.
For homes with roof vents, inspection and cleaning are more challenging but equally important. Consider scheduling professional dryer repairing service if your vent is difficult to access, as technicians have specialized tools to clean the entire vent system from inside your home.
Mechanical and Electrical Failures
Heating Element Problems
In electric dryers, the heating element can partially or completely fail over time. A compromised heating element may still produce some heat but not enough for efficient drying. This typically results in clothes that are slightly warm but remain damp even after extended drying times.
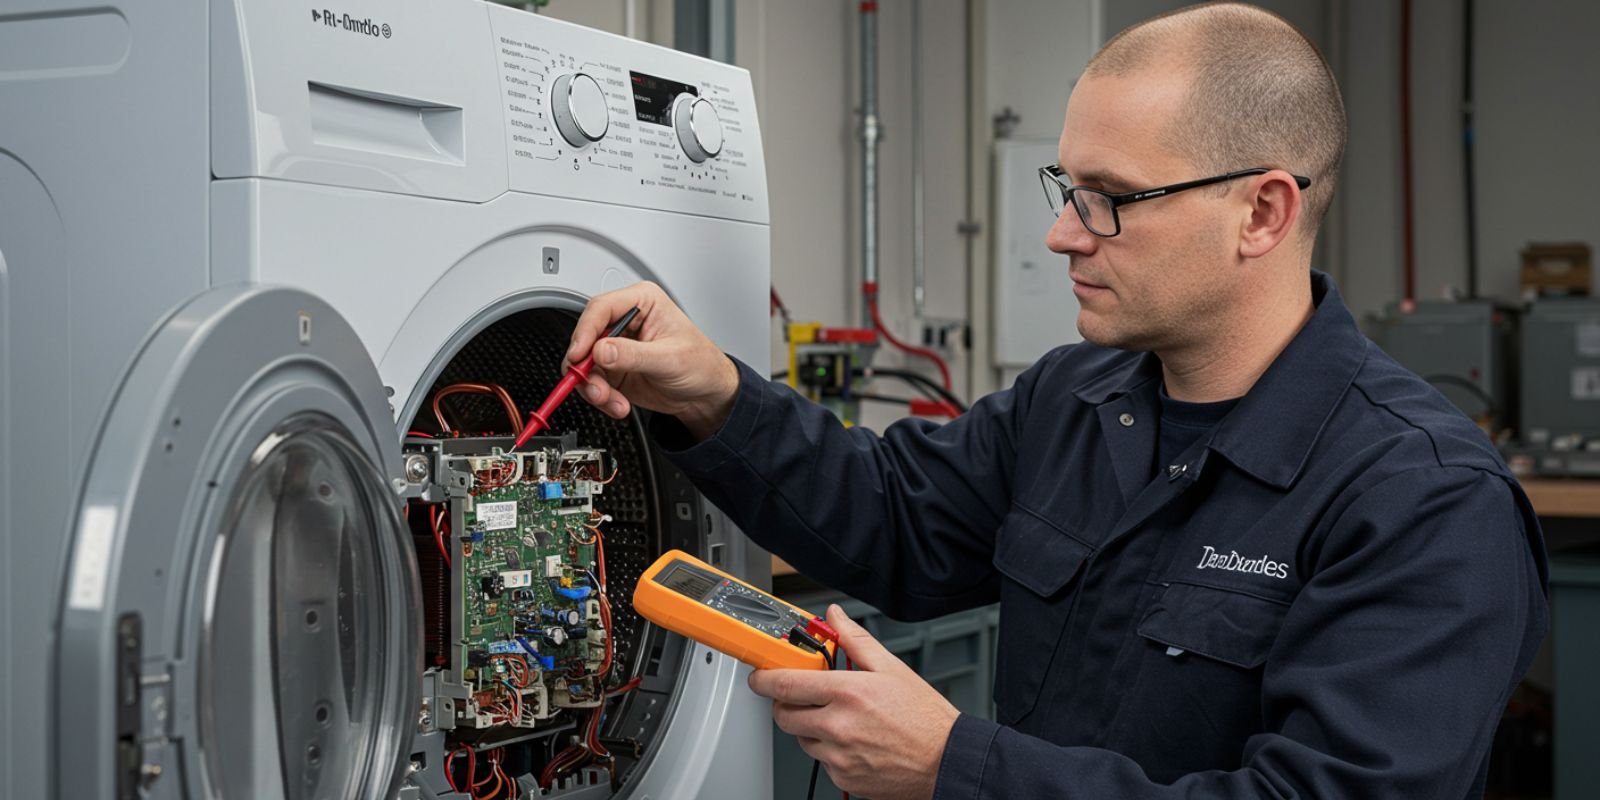
Testing for heating element problems usually requires basic electrical knowledge. With the dryer unplugged, locate the heating element assembly and check for visible damage like breaks or burning. For a definitive diagnosis, use a multimeter to test for continuity. No continuity indicates a broken element requiring replacement.
For gas dryers, similar symptoms can result from problems with the gas valve solenoids, igniter, or flame sensor. These components require specialized knowledge to test and repair safely.
Thermostat and Thermal Fuse Issues
Dryers contain multiple temperature-regulating devices that control heat levels and provide safety cutoffs. The cycling thermostat turns the heating element on and off to maintain proper temperature. If this thermostat fails, the heating element may not activate consistently.
Additionally, most dryers contain thermal fuses designed to burn out if the dryer overheats, preventing fire hazards. Once a thermal fuse blows, the heating element won’t receive power until the fuse is replaced. Importantly, a blown thermal fuse often indicates another underlying problem causing overheating, such as restricted airflow.
Testing these components typically requires a multimeter and access to parts diagrams for your specific model. While replacement parts are relatively inexpensive, diagnosing the correct component requires some technical knowledge.
Timer or Electronic Control Board Malfunctions
Modern dryers rely on electronic control boards to manage all functions, including heating cycles and moisture sensing. In older models, mechanical timers control these functions. Failure in either system can cause the dryer to heat improperly or not advance through cycles correctly.
Control board problems often manifest in inconsistent behavior—sometimes the dryer works correctly, other times it doesn’t complete cycles or heat properly. Erratic behavior, unresponsive buttons, or unusual error codes can indicate control system issues.
Diagnosing electronic problems typically requires technical expertise. While mechanical timers can sometimes be repaired, electronic control boards usually need complete replacement if faulty.
Sensor and Cycle Setting Problems
Moisture Sensor Malfunctions
Many modern dryers feature moisture sensors that detect the dampness level of clothes and adjust drying time accordingly. These sensors are typically metal bars or strips inside the dryer drum that measure electrical conductivity through the clothes (wet clothes conduct electricity better than dry ones).
Over time, these sensors can become coated with residue from fabric softeners or detergents, insulating them and preventing accurate readings. This causes the dryer to “think” clothes are dry when they’re still damp, ending cycles prematurely.
Clean moisture sensors with a soft cloth and rubbing alcohol to remove invisible buildup. Be gentle to avoid damaging the sensors, and ensure they’re completely dry before running the dryer again.
Incorrect Cycle Settings
Sometimes the solution is surprisingly simple: inappropriate cycle settings for the load being dried. Heavy fabrics like denim or towels require longer, hotter cycles than lightweight synthetic materials. Using gentle cycles for heavy loads often results in damp clothes, while high-heat settings for delicates can cause overheating and emergency shutdowns.
Review your dryer’s manual to understand the intended purpose of each cycle. Generally, use the highest heat setting safe for the most delicate fabric in your load. Sort laundry not just by color but also by fabric weight to optimize drying efficiency.
Overloading Issues
Cramming too many clothes into the dryer restricts air circulation between items, dramatically reducing drying efficiency. When clothes can’t tumble freely, hot air can’t reach all surfaces evenly, resulting in partially dried loads.
As a rule of thumb, the dryer should be no more than three-quarters full when loaded. This allows proper tumbling and air circulation. For very heavy items like comforters or blankets, consider drying them separately or using commercial dryers designed for oversized loads.
Maintenance Practices to Prevent Drying Problems
Regular Cleaning Schedule
Establishing a regular maintenance routine prevents most common drying problems. Clean the lint filter before every load—not just after. Every three to six months, wash the lint screen with soapy water and a soft brush to remove invisible residue.
Schedule professional vent cleaning annually, or more frequently for households with high dryer usage, multiple pets, or if your vent system has multiple bends. Between professional cleanings, check and clean the exterior vent opening monthly to ensure it remains unobstructed.
Professional Inspection Benefits
Even with diligent home maintenance, professional inspection offers benefits that DIY approaches can’t match. Certified technicians can access areas of the dryer and vent system that are difficult for homeowners to reach. They use specialized tools like rotating brushes and high-powered vacuums to thoroughly clean the entire vent system from dryer to exterior opening.
Professional service also includes inspection of critical components like heating elements, thermostats, and moisture sensors. Identifying and replacing failing parts before they completely malfunction can prevent more expensive repairs later and extend your dryer’s lifespan.
Consider scheduling professional inspection if your dryer is more than five years old, if drying times have gradually increased despite regular maintenance, or if you’ve recently moved into a new home and are unsure about the condition of the existing dryer and vent system.
When to Repair vs. Replace
Age and Efficiency Considerations
Most dryers have an expected lifespan of 10-13 years. If your dryer is approaching or exceeding this age range and experiencing significant problems, replacement might be more economical than repair. Newer models offer improved energy efficiency that can offset the purchase price through reduced utility costs over time.
Factor in the frequency and cost of recent repairs when making this decision. Multiple repairs within a short timeframe often indicate that other components are reaching the end of their useful life. As a general guideline, if repair costs exceed 50% of the price of a new dryer, replacement is usually the better option.
Energy Efficiency Upgrades
If you decide to replace your dryer, consider energy efficiency ratings carefully. Look for models with moisture sensors, automatic shut-off, and Energy Star certification. Heat pump dryers, though more expensive initially, use significantly less electricity than conventional models and often qualify for utility rebates that reduce the effective purchase price.
For households that dry multiple loads weekly, the energy savings from an efficient new dryer can be substantial over its lifetime. Calculate potential savings based on your typical usage patterns when comparing repair versus replacement costs.
Conclusion
A dryer that fails to dry clothes properly rarely improves without intervention. The good news is that many common causes—like lint buildup, vent restrictions, or incorrect settings—can be addressed without specialized knowledge or expensive repairs. Regular maintenance prevents most issues before they affect performance.
For more complex problems involving electrical components or gas systems, professional diagnosis ensures safety and accurate repairs. By understanding the common causes of poor drying performance and implementing appropriate solutions, you can restore your dryer’s efficiency, extend its useful life, and eliminate the frustration of repeatedly finding damp clothes at the end of the cycle.
Remember that proper dryer function is not just about convenience—it also affects energy consumption and home safety. Addressing problems promptly reduces fire risks associated with lint buildup and prevents the energy waste of running multiple drying cycles for the same load of laundry.